|
<< Click to Display Table of Contents >> Variables List |
  
|
|
<< Click to Display Table of Contents >> Variables List |
|
The Variables List is used to:
| • | Define and/or edit connected instruments |
| • | Add Instrument Views and/or individual parameters, which could be: Numeric, Alarms, Text values onto the GDW |
| • | Add SpecView pre-defined variables to the GDW |
| • | Create User Variables of different types (including Booleans which can be set to be Alarms) and then add them to the GDW |
| • | Change the Variable Properties (such as Scaling & Offset) |
NOTE: If the required menu-item in the Variables List is not enabled (grayed-out) then go to the Online Features menu and choose Disable All (fully offline). This is because some of the menu-items, such as changing instrument details can't be done while online.
NOTE: ALL variables (either User Variables or Instrument Variables) MUST be out on an open GDW for the Strategy Controller to be able to use their values.
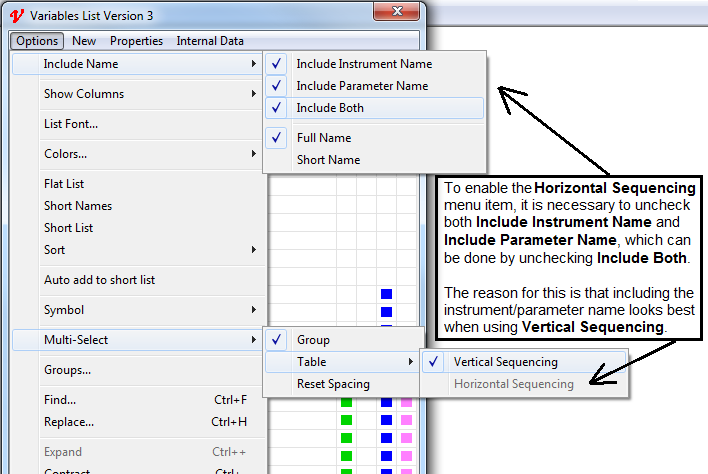
Open the list by selecting Variables & Instruments from the View menu OR click ![]() on the toolbar
on the toolbar
There is a separate list for new instruments, these are known as instrument Templates.
To access the Templates List press the T tool on the toolbar ![]()
An alternative way to access it is via the New menu on the Variables List.
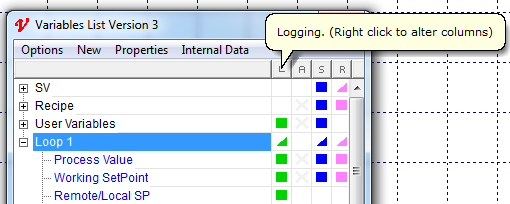
Note: Tooltips are displayed by hovering the mouse over items such as: User Variables, Instrument Parameters and column headings:
There are multiple options for sorting instruments and variables within the Variables List.
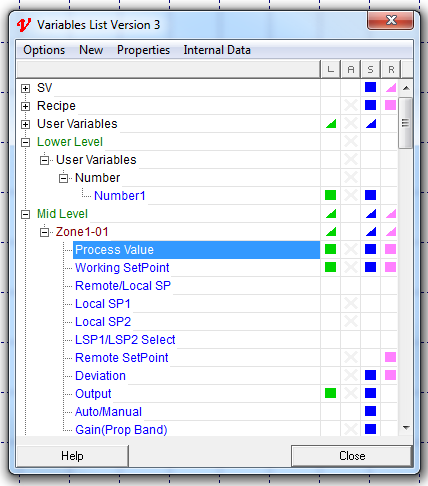
There are a number of columns which can be selected showing Values (V), Logging (L), Alarms (A), Short-List (S) and Read-Only (R).
Live values will be shown in the Values (V) column, if enabled on the Online Features menu. This will not put a heavy load on comms because only those values visible will be requested.
Choosing Options->Flat List displays parameters from multiple instruments, so that all similar parameters from each instrument are shown together.
Instruments may be grouped together under a logical machine name. This is done using Options->Groups to create a logical name and going to the instrument's Properties and assigning it to a group.
Variables can be dragged and dropped onto the screen (GDW).
Multi-select of variables can be sequential, using the SHIFT key, or random, using the CTRL key. When using the CTRL key, variables are put on the screen in the order selected.
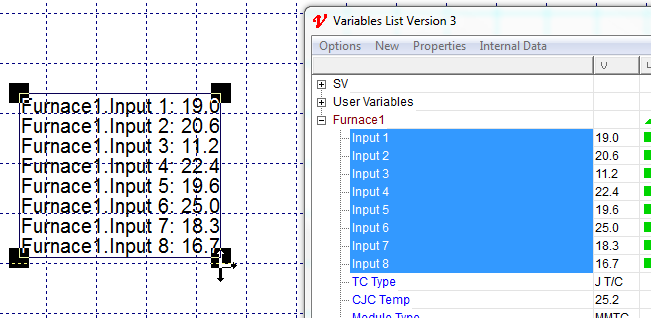
When a number of variables are multi-selected and dragged out onto the screen they are automatically in Spread Mode to assist when dragging out a number of variables for a table.
This is indicated by the large black square 'handles' around them. The 'handles' can be dragged to adjust the spacing, instead of just enlarging the font.
Any group of items can be put into Spread Mode by right clicking on the group and choosing Spread Mode from the popup menu.
Subsequent dragging will use the previous spacing, or use the Reset Spacing menu item from the Multi-Select sub-menu.
Drag and drop can also be used to assign a variable in a box, such as, the Strategy Controller Setup box.
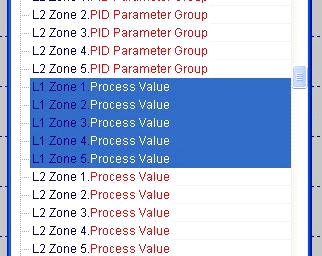
Here the Flat List option has been chosen from the Options menu, so that all the similar parameters from each instrument are shown together.
After multi-selecting the parameters, drag onto the GDW which automatically arranges them and, if enabled on the Online Features menu, then the live values will be shown immediately.

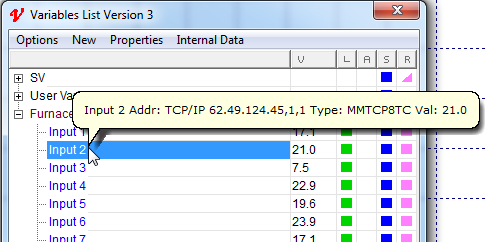
For Modbus instruments the Modbus address of a parameter will be displayed in a tooltip.
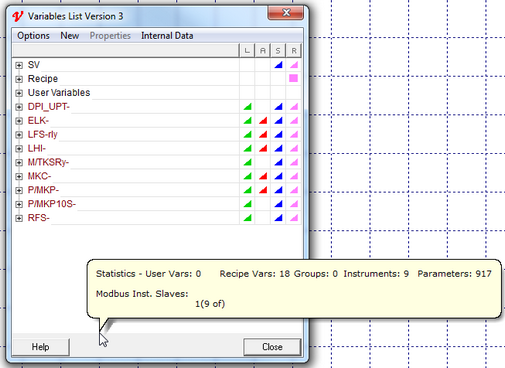
A summary of variables is shown in a tooltip when hovering the mouse over the bottom edge of the Variables List.
Other Variables List features include:
| • | Renaming with Options->Find and Options->Replace so that instrument names, parameter names, and addresses can be found and changed. |
| • | When a User Variable is created any number in a name is recognized as such and it is incremented for the next one, e.g. Zone478 the next one would be Zone479 |
| • | Show/Hide columns for Logging (L), Alarms (A), Short List (S) and Read-Only (R) attributes. |
| • | Read-Only attribute may be applied to Read/Write variables on screen (GDW) to prevent accidental changes to the value. |
| • | The scroll-wheel on the mouse operates the scroll bar on the Variables List. |
| • | Instrument creation via the Templates List |
Note: If a button or menu item isn't enabled then a possible reason is that Online Features are enabled.
For example, in the Variables List's Variable Properties box the Delete button will be disabled (grayed out) if Online Features are enabled.
See Internal Data Menu for advanced options.