|
<< Click to Display Table of Contents >> Adding Values to a GDW |
  
|
|
<< Click to Display Table of Contents >> Adding Values to a GDW |
|
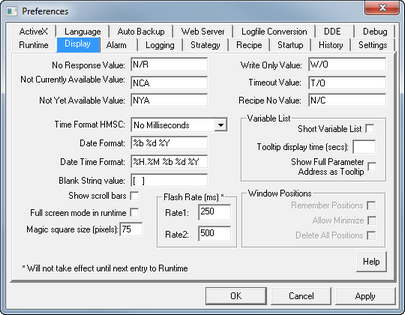
Open the Variables List by clicking ![]() on the toolbar
on the toolbar
To add value(s) to a GDW, first click the ![]() by the instrument you want.
by the instrument you want.
Then there are 3 ways to add a variable or parameter to a GDW:
1.Double-clicking on the variable in the Variables List.
The value will be put on the GDW in the top left corner. Note: Move objects down the screen before adding more values, otherwise they will all appear on top of each other.
2.Drag & Drop the variable from the Variables List to the required location on the GDW.
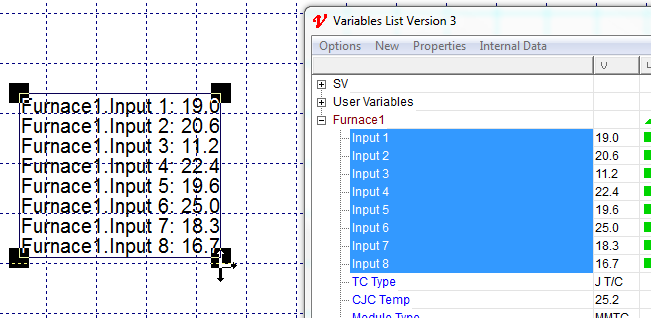
3.Multi-select and drag & drop multiple variables from the Variables List onto the GDW.
When a number of variables are multi-selected and dragged out onto the screen they are automatically in Spread Mode to assist when dragging out a number of variables for a table.
This is indicated by the large black square 'handles' around them. The 'handles' can be dragged to adjust the spacing, instead of just enlarging the font.
Any group of values can be put into Spread Mode by right clicking on the group and choosing Spread Mode from the popup menu.
Subsequent dragging will use the previous spacing, or use the Reset Spacing menu command from the Options->Multi-Select sub-menu.
To include the variables' name use the Options->Include Name menu:

If either Options->Include Instrument Name or Options->Include Parameter Name have been selected then:
NOTE: This will mean that when a variable is first displayed on a GDW the name of the variable and its value will be separate objects with their own set of eight handles to show they are selected.
To move either of them drag from the middle of the object.
To move both of them together Group the name and value together using the 'G' or Group Tool 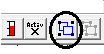
With both Instrument Name and Parameter Name:
![]()
With just Instrument Name:
![]()
With just Parameter Name:
![]()
Without Name:
![]()
In either case if the value is not available (either because SpecView is in Edit Mode (Offline) or if the instrument isn't communicating for another reason) then the 'N/R' (No Response Value) will be shown.
The 'N/R' (No Response Value) can be changed on the Display tab from the Preferences menu command on the File menu:
The text font and color are defined using the Text Font menu command on the Object menu
For details on aligning text Text Justification
Whenever placing instrument variables on a GDW, the values for the variables are requested from the instrumentation based on the order of when the variable was placed on the GDW.
For example, on a blank GDW, a user places first a Process Value variable and then a Set Point variable.
Assuming the Variables List is closed and there is no Strategy Controller involvement, then SpecView will request the appropriate instrument for the Process Variable value first and the Set Point value second.
This is because the user placed the Process variable on the GDW first and the Set Point variable second.
Version 3.1.259 onwards, users have more flexibility in being able to control the order in which SpecView will request values on a GDW.
Users can have SpecView request for values on the left side of the screen first and fill in values from left to right.
This can be incredibly useful when dealing with large Recipe screens that are displayed on smaller monitors.
SpecView can be programmed to populate values on the left side of the monitor first to enhance user experience.
Otherwise, SpecView will follow the default order of populating values, and it might seem disorienting for users.
| 1. | Open the Project Folder. |
| 2. | Open the Settings.INI file in Notepad by right clicking on the file and selecting Open with. |
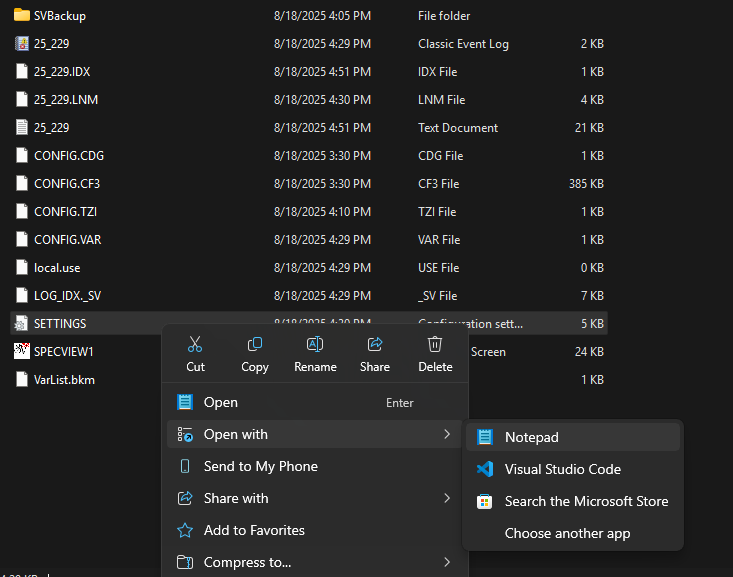
| 3. | Under the Runtime section, enter the following command, "LeftToRightCommsOrdering=Y". |
| 4. | Save the file using File > Save. |
SpecView will now populate values from left to right on a screen.