|
<< Click to Display Table of Contents >> GDW: Print Screen |
  
|
|
<< Click to Display Table of Contents >> GDW: Print Screen |
|
This Button/Strategy Controller Action will cause the selected GDW to be printed.

Selecting a GDW from the list will cause just the contents of that GDW to be printed.
Selecting <Current GDW> will cause just the contents of the currently displayed GDW to be printed.
Selecting JPG will put an image of the whole screen, including the Windows task bar if it is visible (not just the contents of the GDW) to a .JPG (Jpeg format) file.
The filename of the file that is created has the date and time in the format:
YYYYMMDD_HHMMSS.JPG
The file is written to the current Project folder.
If more than one request to print 'JPG' is made at the same second, then the file will be overwritten.
When this command is used as an Action in the Strategy Controller, then SpecView will force File->Auto-open on Runtime for that GDW.
See also the Runtime mode menu commands: 'Print...' and 'Print to JPG' on the File menu
and the Edit mode menu commands: 'Print Preview' and 'Print to JPG' on the File menu.
and the Print Options that can be used to control how the contents of a screen are positioned and resized on the paper (or in the PDF file if 'Print to PDF' is being used).
Printer A and Printer B:
When printing from a Button there are 2 additional printers Printer A and Printer B that can be selected from the Button Action 'GDW: Print Screen'.
These are both in addition to the 'Default' printer.
The drop down menu for the Button Action 'GDW: Print Screen' has <This Screen to Printer A> or <This Screen to Printer B>.
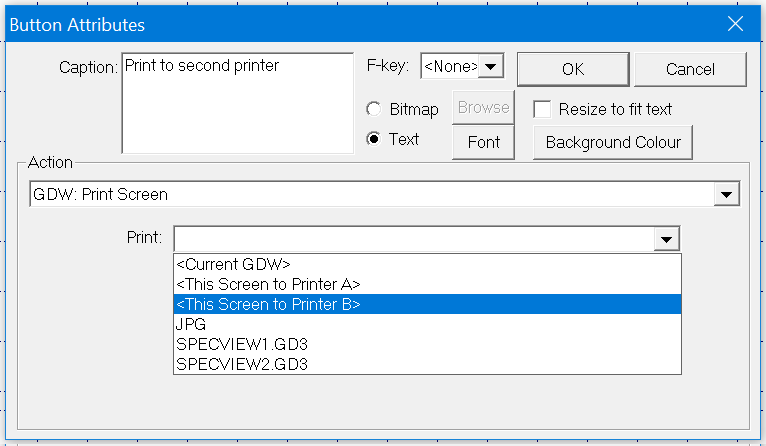
To control the how the contents of a screen are positioned and resized on the paper (or in the PDF file if 'Print to PDF' is being used) use the Print Options menu command on the File menu.
Note that Printer A and Printer B are only applicable to the Button Action 'GDW: Print Screen'.
They are not currently applicable to these methods of printing:
| • | From the Print menu command on the File menu. |
| • | Strategy Action: 'GDW: Print Screen' |
| • | Printing using the Print menu commands on a Trend Chart or auto-printing which is setup via the 'Print & Batch' tab of the Trend Chart Setup box. |
It is now possible to use Strategy Controller to print either to Printer A or Printer B.
This is done in the Settings.INI file in the Project Folder.
| 1. | Right click on the Settings.INI file to open the file with Notepad. |
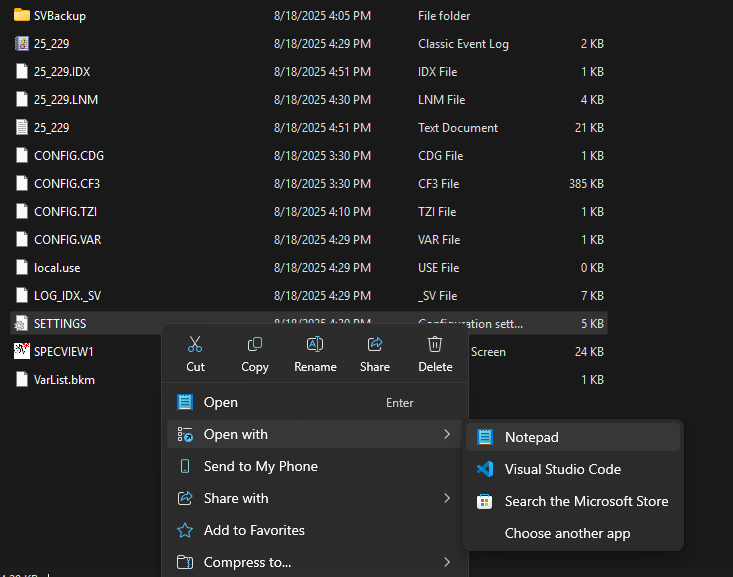
| 2. | In the Strategy section, enter the command "PrintTo=A" to print to Printer A or enter "PrintTo=B" to print to Printer B. |

| 3. | Save the file using File > Save. |
Other methods of printing from SpecView are described here.
As of SpecView 3.1.277, users can specify the JPG file name and storage path using a SpecView Text Variable.
This provides greater flexibility to include batch details or other relevant information in file names and save JPG files to a location of their choice.
Please follow the procedure below to use a SpecView Text Variable to specify the name and path of the JPG.
1. Go to the Project Folder.
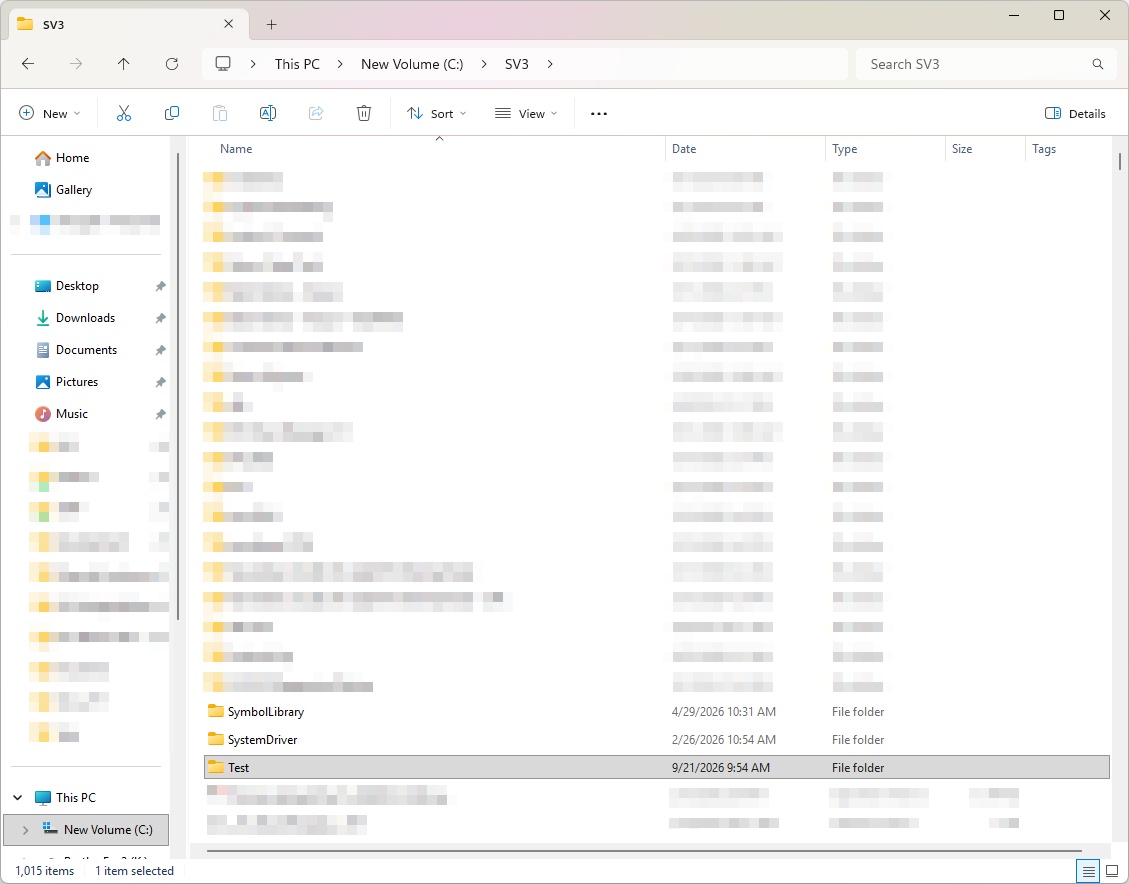
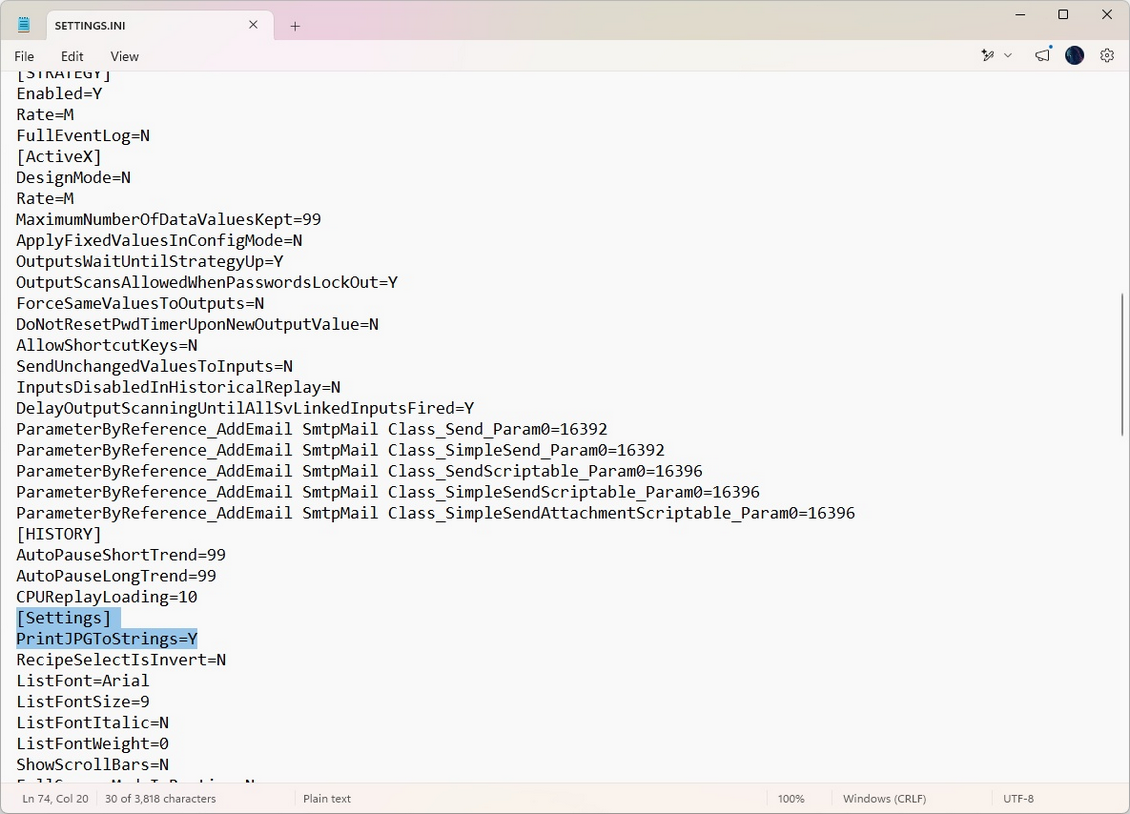
2. Open up the "Settings.INI" file in Notepad or a similar text editor.
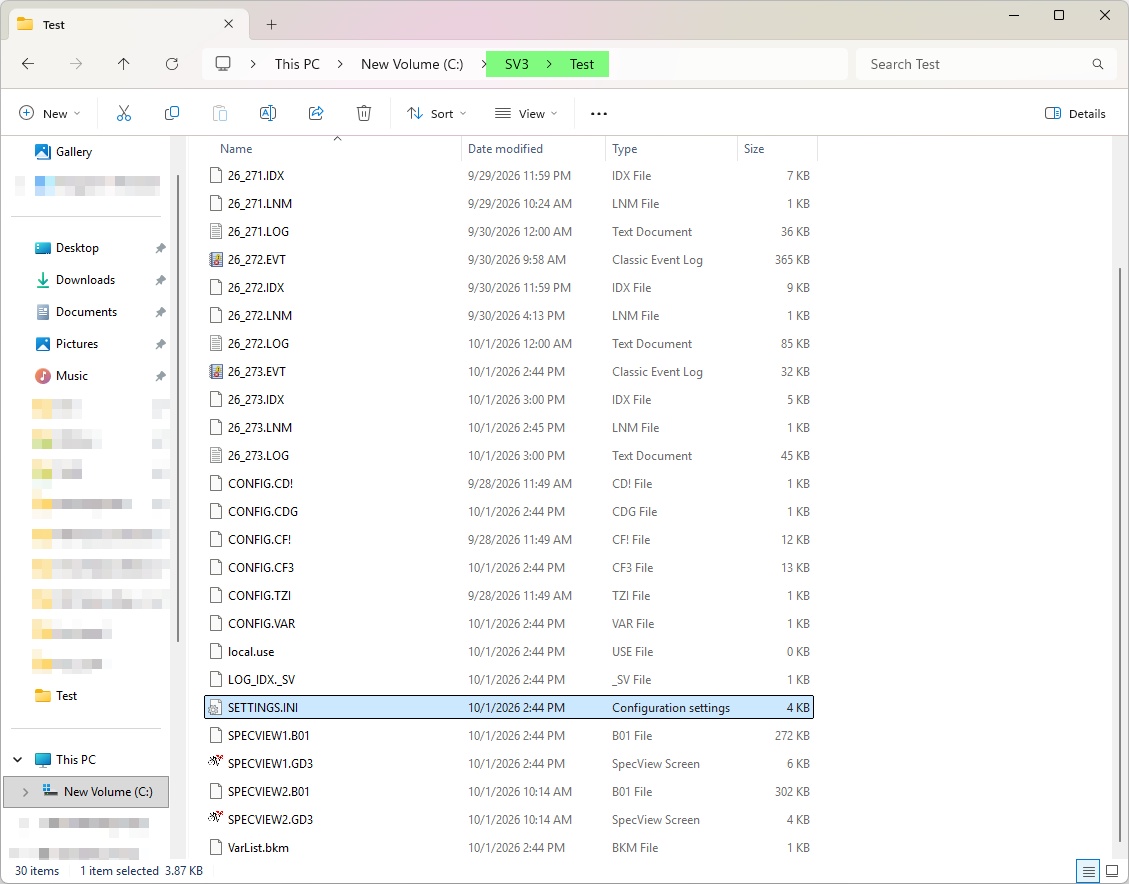
3. Under the "[Settings]" heading, enter the following line, "PrintJPGToStrings=Y".
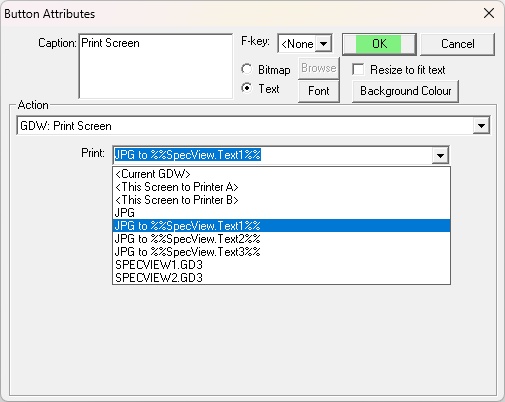
4. Select one of the variables from the drop down menu of the Button Attributes or Strategy Controller Action box.
5. Click "OK".
6. Ensure the selected text variable has the appropriate path and name and is open on a GDW.
For example, the path the JPG should be stored in is "C:\SV3\Test" and the name of the JPG should "Sample".
The selected text variable should contain the following, "C:\SV3\Test\Sample.JPG".
If the path is incorrect or absent, then no JPG will be created.
If no name is entered for the JPG, then no JPG will be created.
If the text variable is not open on a GDW, then no JPG will be created.
Additionally, users can enter the path and file name separately and have SpecView combine them.
Please read through SpecView: Write Text to another Text String for more details.
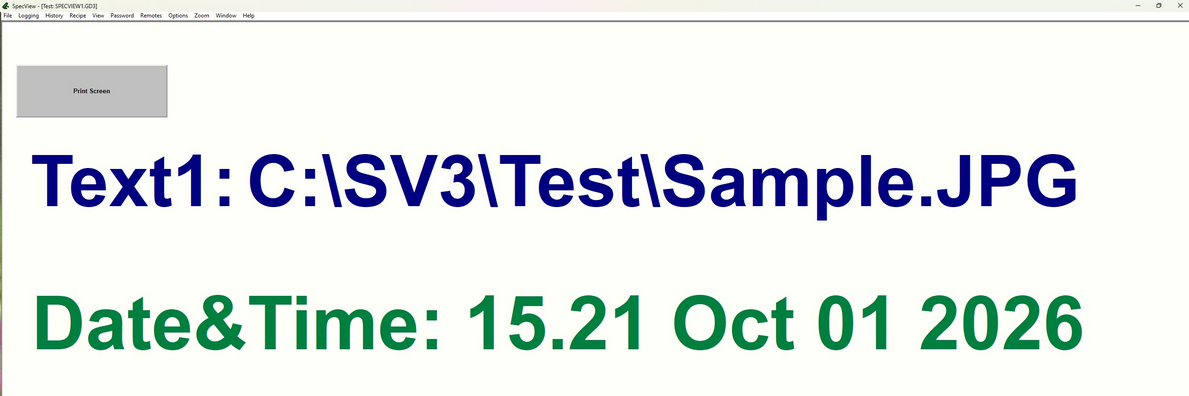
The image above is what the SpecView GDW looks like with the text variable on the open GDW.
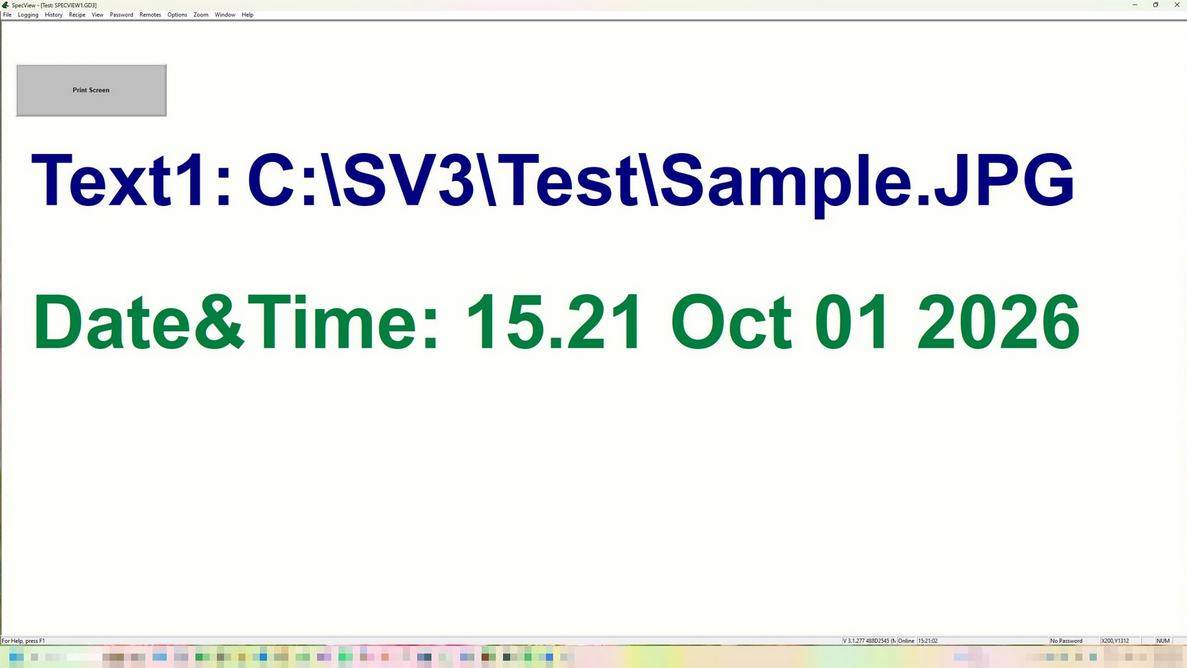
The image above is the screenshot that is taken.
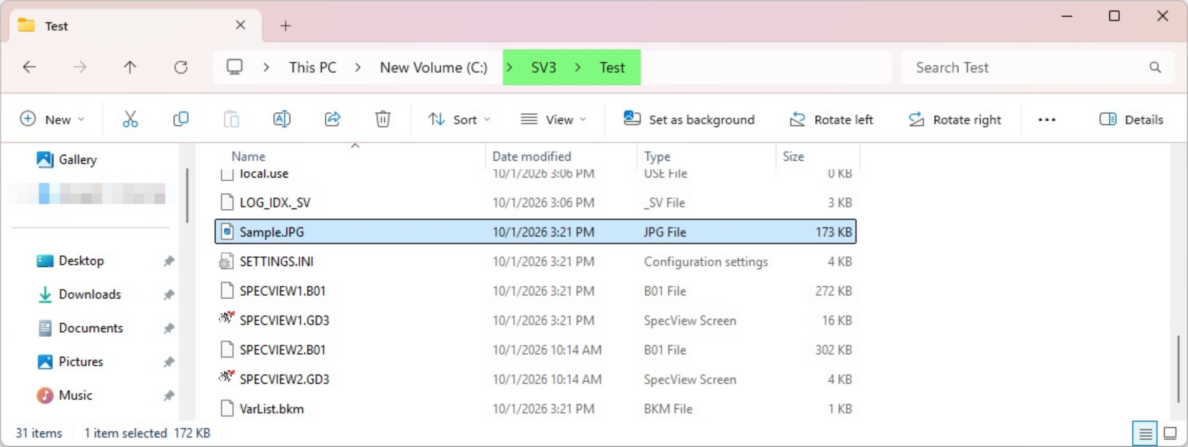
The image above shows the JPG being saved in the desired path.