|
<< Click to Display Table of Contents >> File Menu (Runtime) |
  
|
|
<< Click to Display Table of Contents >> File Menu (Runtime) |
|

Open
Use this command to open a previously saved GDW

Close
Closes the current GDW. This is the same as the GDW Control: Close this screen
Edit Mode (remain online) and Edit Mode (go offline)
Switches to the SpecView Edit Mode
These menu items will be grayed-out if the SpecView license is a Runtime-Only license.
Preferences
Shortcut: Ctrl + E
Displays the Preferences box.
Print and Print Preview
Shortcut: Ctrl + P

Click the OK button to print the current screen (GDW) to the printer shown.
Print Setup
NOTE: Landscape mode is recommended for GDW's containing Trend charts
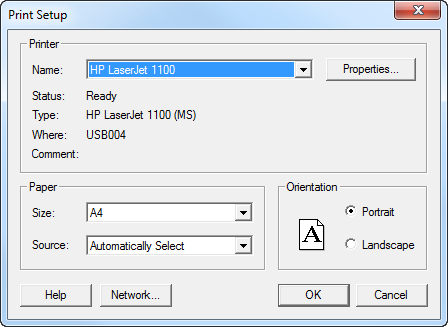
Use this box to select and setup the printer.
NOTE: To change the default settings use the printer setup in Windows Control Panel
If Adobe Acrobat is installed then this will be shown in the list of printers and can be used to create a PDF (Portable Document Format) file.
Print Options:

The Print Options box is described in detail here.
Print to JPG
Puts an image of the whole screen, including the Windows task bar if it is visible (not just the contents of the GDW) to a .JPG (Jpeg format) file.
The filename of the file that is created has the date and time in the format:
YYYYMMDD_HHMMSS.JPG
The file is written to the current Project folder.
If more than one request to 'Print to JPG' is made at the same second, then the file will be overwritten.
There is also the Button & Strategy Controller action: GDW Control: Print Screen which allows 'JPG' to be selected from the list.
NOTE: Other methods of printing are described here.
Toggle Full Screen Mode
Described in Full Screen Mode
Restart SpecView
Restarts SpecView as if the user had exited and started it again.
Exit
Shortcut Alt + F4
Exits (closes) SpecView.