|
<< Click to Display Table of Contents >> Installing SpecView |
  
|
|
<< Click to Display Table of Contents >> Installing SpecView |
|
If there are any doubts about the suitability of the computer for installation of SpecView, or if you are using Windows XP, please check the Minimum Requirements for Installing SpecView.
Firstly, it is necessary to have Administrator privileges on this computer before installing SpecView.
To install SpecView choose one of the following methods:
CD
If you have SpecView on a CD then load the CD into the drive. It should then automatically run Setup from the CD.
If the CD does not auto-run then choose Computer from the Start Menu
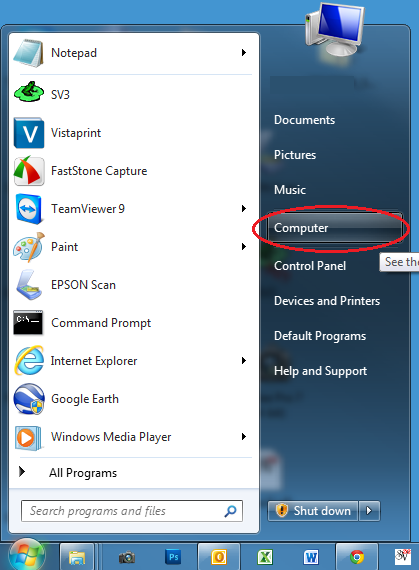
Open the CD drive and double-click the 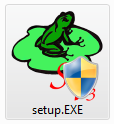 icon.
icon.
Note: It is strongly recommended to install into the default location C:\SV3
However, running the Setup program again to install the same release will offer Repair/Modify/Remove:
(Modify is used to add or remove sub-options, such as drivers or demo projects. Repair can be used if an installed file has been accidentally deleted).

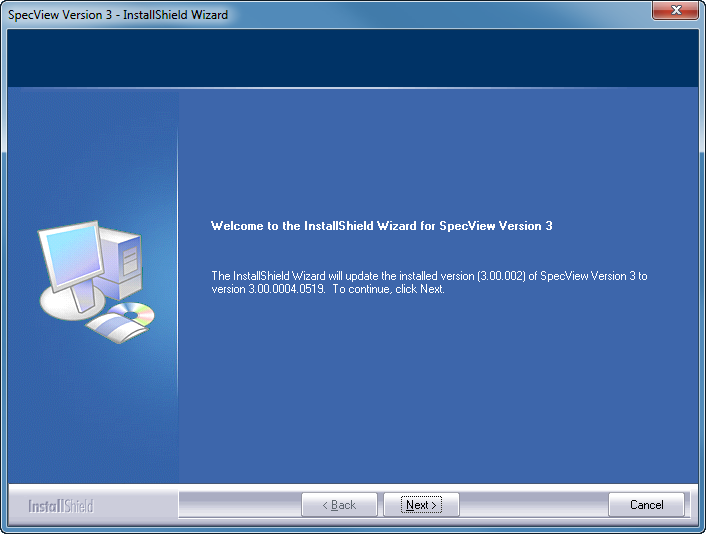
If the setup being run is a newer version (by build number), then the installer will run as an 'Update Install', where the installer updates anything that's new in this build. However, it will not alter which sub-components are installed, it just updates whatever was installed originally to the new build code (including drivers, help files, etc.).
This type of install would be done if SpecView had previously been installed from SV3_SETUP_30041.EXE and a newer version, such as SV3_SETUP_30042.EXE was subsequently run.
Migrate_Configs would not be run automatically.
Download
Downloading SpecView from http://www.specview.com can be done either by downloading with or without the demo projects.
Demo Projects
There are a number of fully functional example projects pre-prepared for many of the instruments that we support. These projects can be easily installed, and may be modified to meet your exact requirements.
When installing from a CD, by default all the Demo Projects are installed. Run SpecView then at the first screen (Projects), select the one(s) that are required. Each Project is stored in its own sub-folder within the installation folder (which is by default C:\SV3). The sub-folder can be copied using Windows Explorer, therefore it is easy to make a backup of a project by making a copy of it, or by using SpecView's Archive/Restore facility. These projects can, if required, be modified from Edit Mode.
When downloading the SpecView setup program from the SpecView website choose the one that contains the Demo projects or not as required.
Additional Demo projects may also be available for download from the SpecView website. In this case the downloaded file(s) will be .SVA file(s), which is a SpecView Archive. To use one of these downloaded .SVA files, install and run SpecView, then at the Projects screen, press the Restore button. Find the .SVA file you have downloaded and restore the project into SpecView. Once restored, these projects can, if required, be modified from Edit Mode. However modifications will only affect the restored Project folder, not the downloaded .SVA file, therefore the .SVA file can be considered as a backup which can be restored again if necessary.
You may see these Installation Warnings and Errors
If you have any difficulty during installation please contact your SpecView representative.